Easiest At-Home Pumpkin Spice Latte Ever!

Fall is taking its sweet time arriving this year. Here we are, nearly mid-way through September, experiencing a veritable heat wave. Some schools actually let out the other day because without A.C., this humid heat can actually be dangerous. We don’t have A.C. I’m a survivor!

Actual screenshot from Tuesday. I was in a tank-top and shorts and still nearly died of heat stroke.

Since it is projected to cool down today, I wanted to celebrate with a pumpkin spice latte (also known as the siren song of all basic white girls). Pejoratives be damned, I love a pumpkin spice latte and will never be ashamed of it!

Here’s the thing about PSLs, though:

  1. They don’t typically contain pumpkin. This is fine: they are pumpkin spiced, which simply means that they are flavored with spices typically used to prepare pumpkin pies.
  2. Takeout PSLs are loaded with sugar, and certain syrups contain artificial ingredients and food dyes. Gross.
  3. PS syrups can also contain sweetened condensed milk or powdered dairy, which makes them far from vegan-friendly.

So, PSLs, while being delicious, aren’t perfect. The great thing about our online Pinterest-y, DIY  culture is that we can take our beloved (pricey) takeout and mimic it at home for a fraction of the cost and calories! Win!

There are so many amazing PSL recipes online. Some involve homemade simple syrups, others actually provide directions to making homemade pumpkin spice almond milk! I was looking to create a drink that could be whipped up with no prep in those last three minutes before you have to leave the house for work. Plus, my at-home PSL can be made entirely without dairy or sweeteners! However, I’m no hero, so the recipe will have 2 suggestions for the sweet-toothed among us.

Gear:

IMG_9029

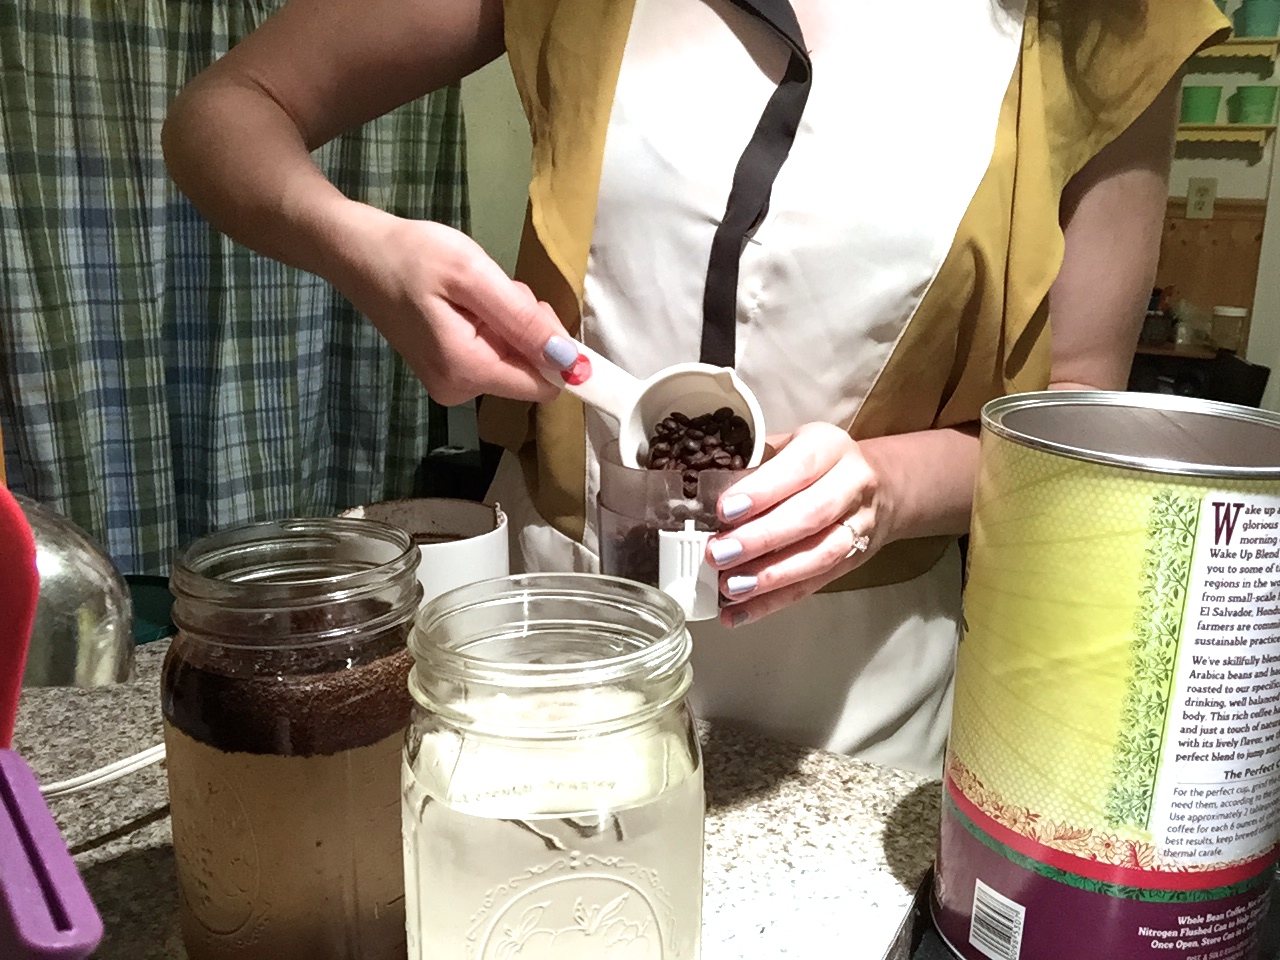
  • 2 shots of espresso (my favorite system is the Aeropress)
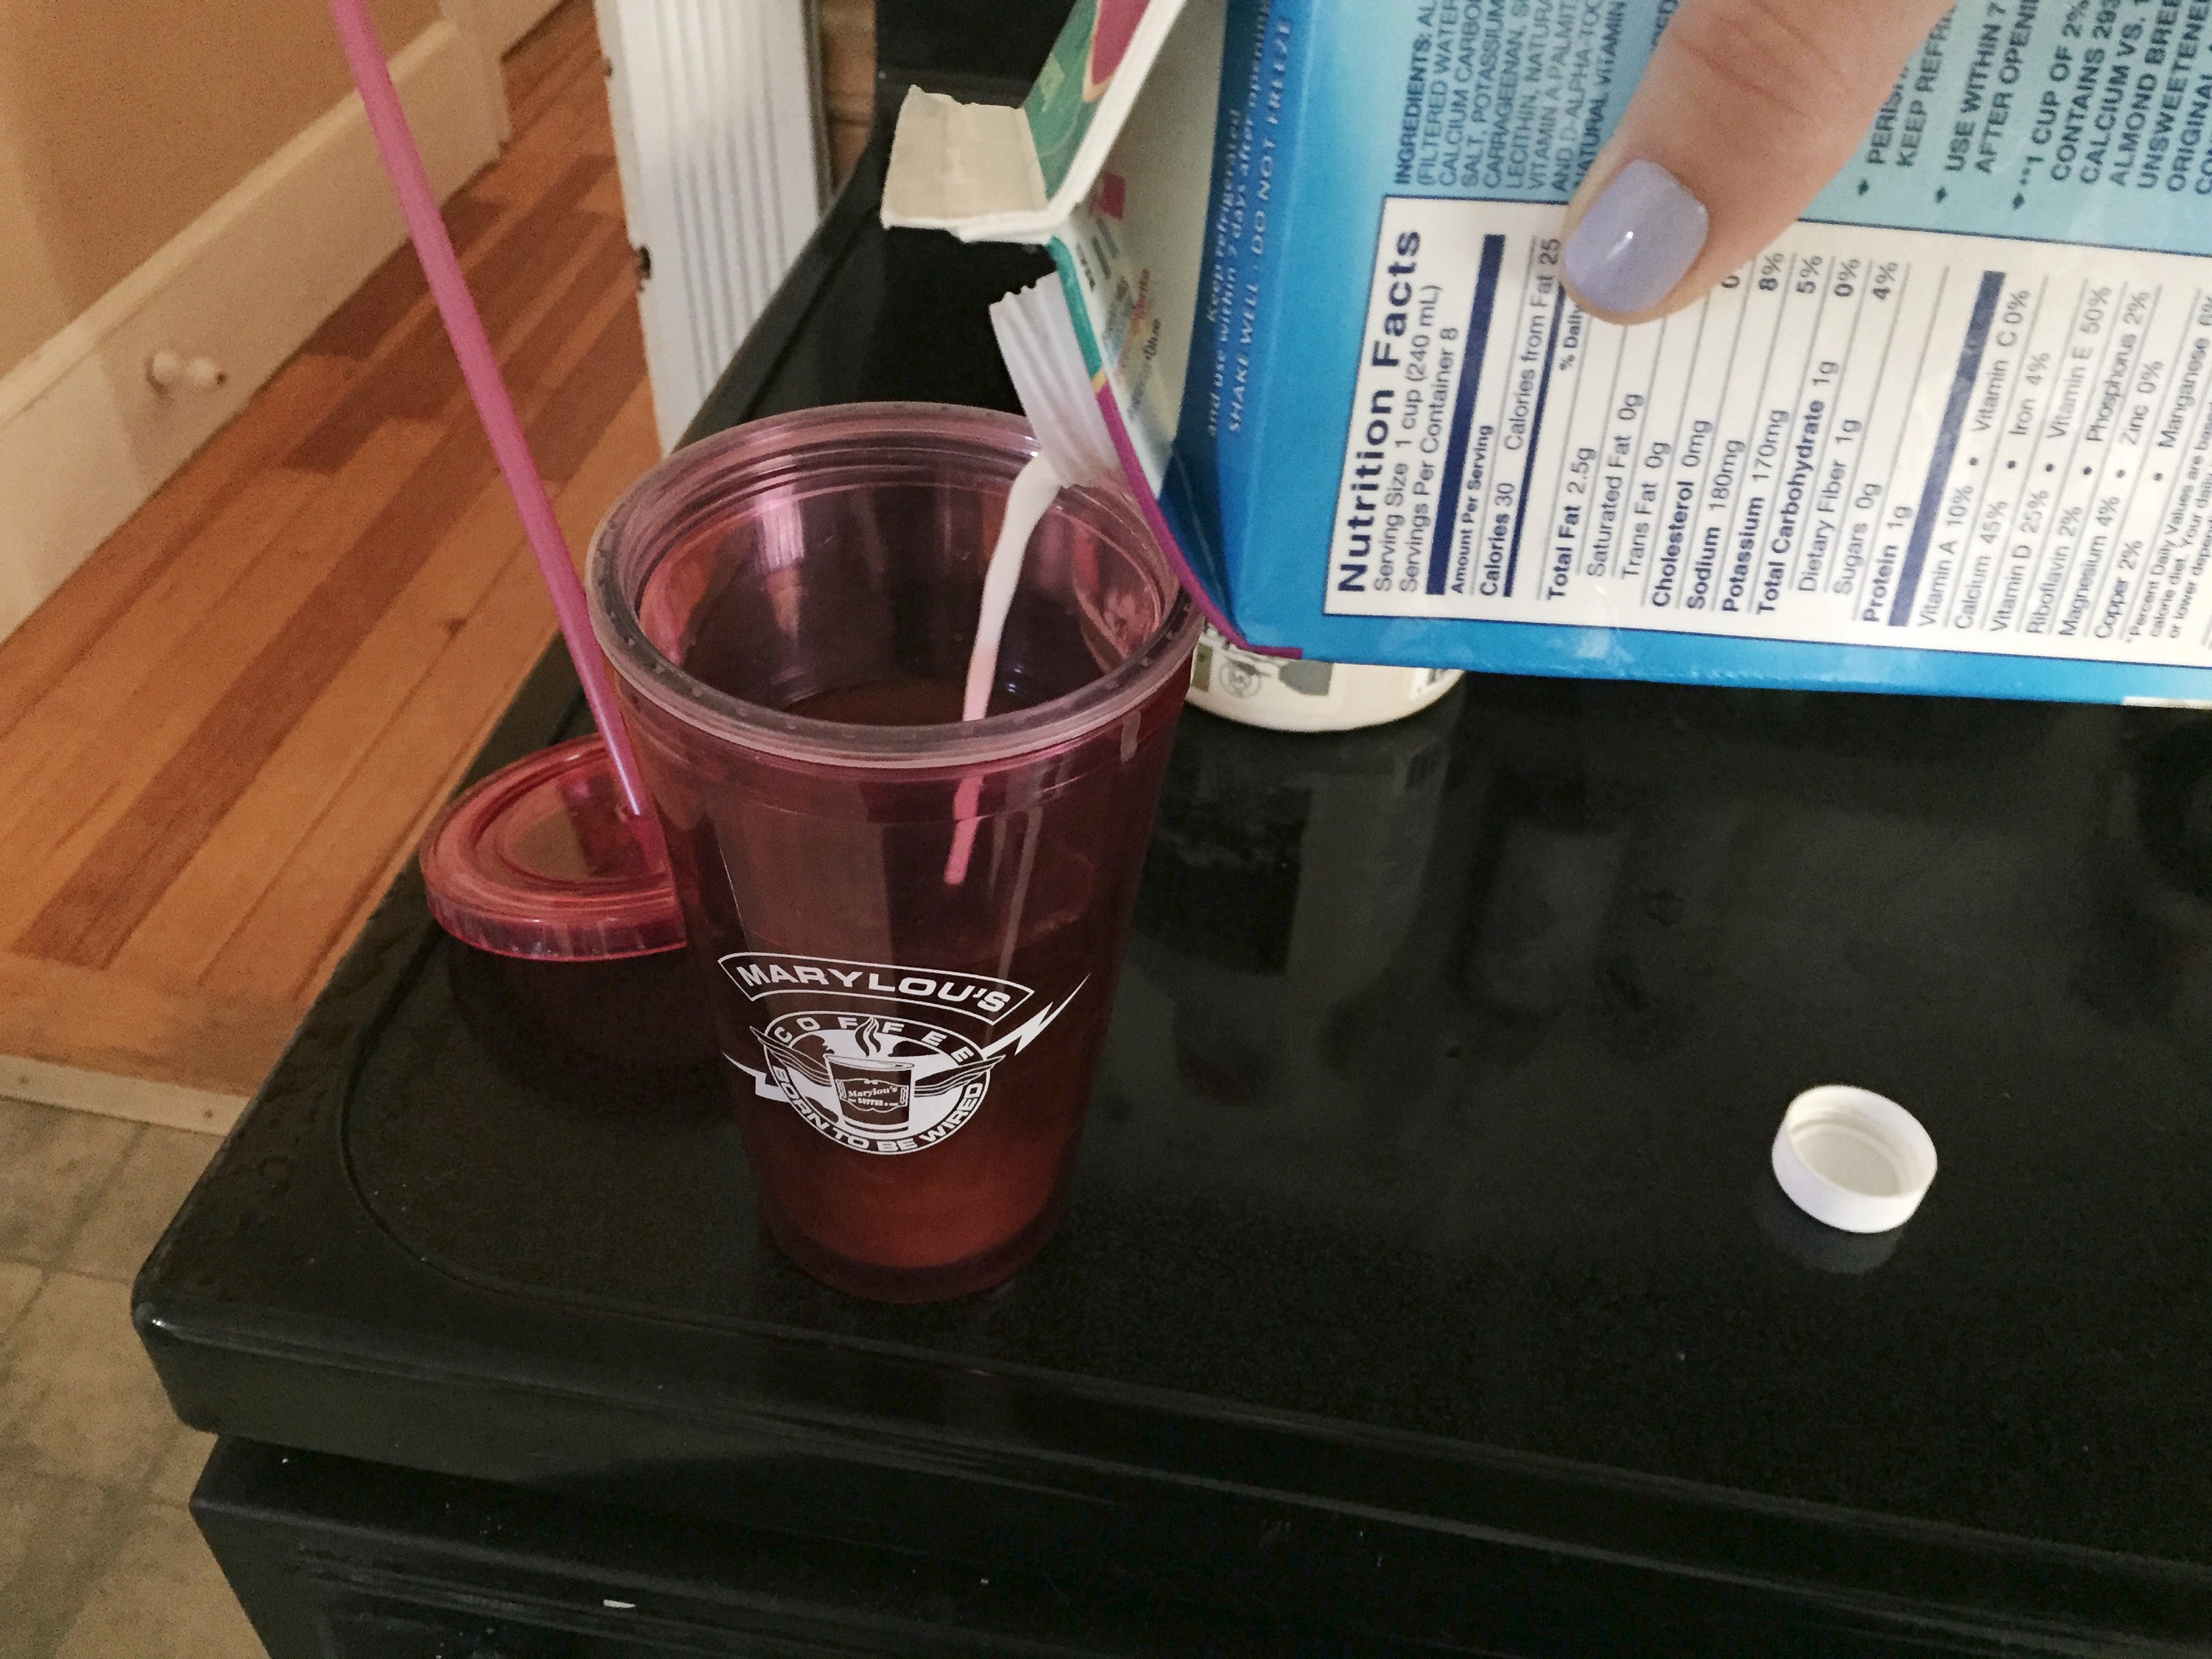
  • almond milk (or your preferred alternative)
  • ice (or a milk heater/frother if you prefer hot)
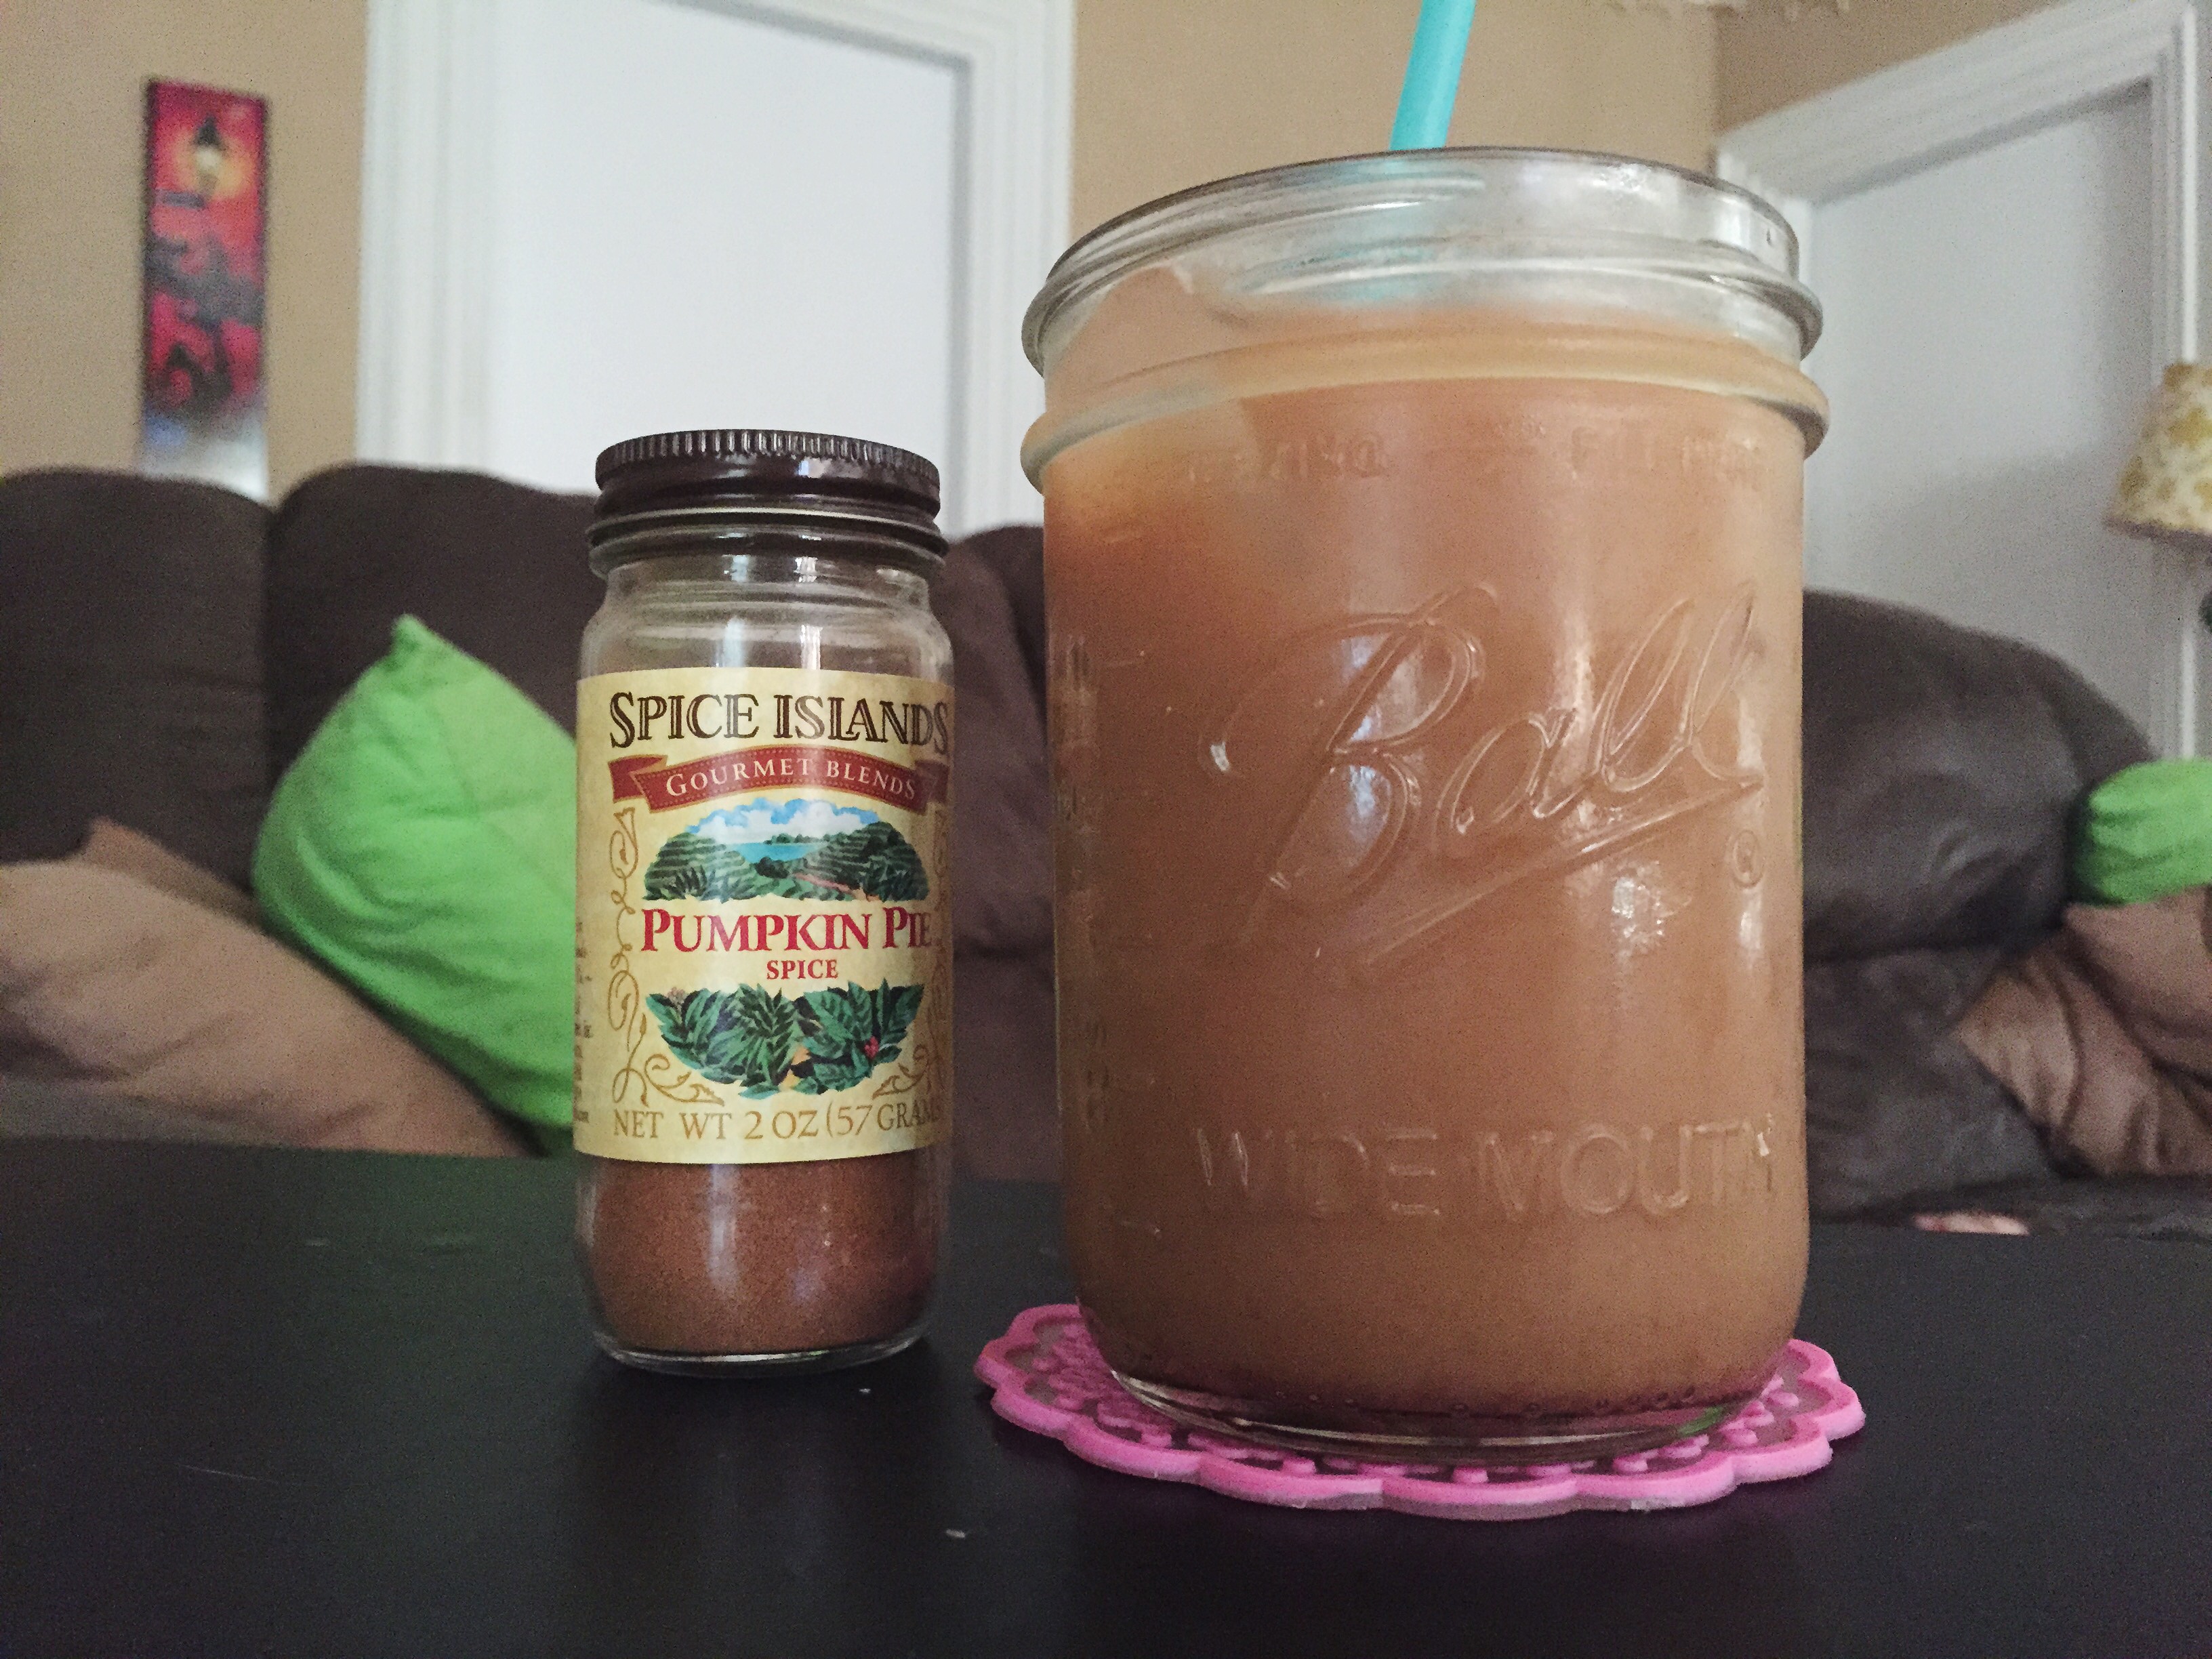
  • Spice Islands Pumpkin Pie Spice (available for cheap at most grocery stores)
  • brown sugar to taste (or all-natural maple syrup)
  • a kettle (this one is on my Amazon wishlist)
  • filtered water
  • reusable cup and straws (optional, but encouraged)

Heat your kettle until boiling, and then set aside.

The first step is personal: how sweet do you like your coffee? Some days I want to be kicked in the face with potency, other days I want something “wimpy” with the sweetness of melted ice cream.

Place your desired amount of brown sugar or all-natural maple syrup into the bottom of your cup. Add two or three shakes of pumpkin pie spice (the flavor is surprisingly strong, so the amount you add is your personal preference). Next, add a tiny dab of hot water (more if using solid sugar, less for maple syrup) from the kettle, and stir until the consistency of your sweetener is syrupy.

The pumpkin pie spice is a blend of cinnamon, ginger, nutmeg, allspice, mace, and cloves. So if you love flavored coffee but hate added sugar, you can just blend this with the hot espresso!

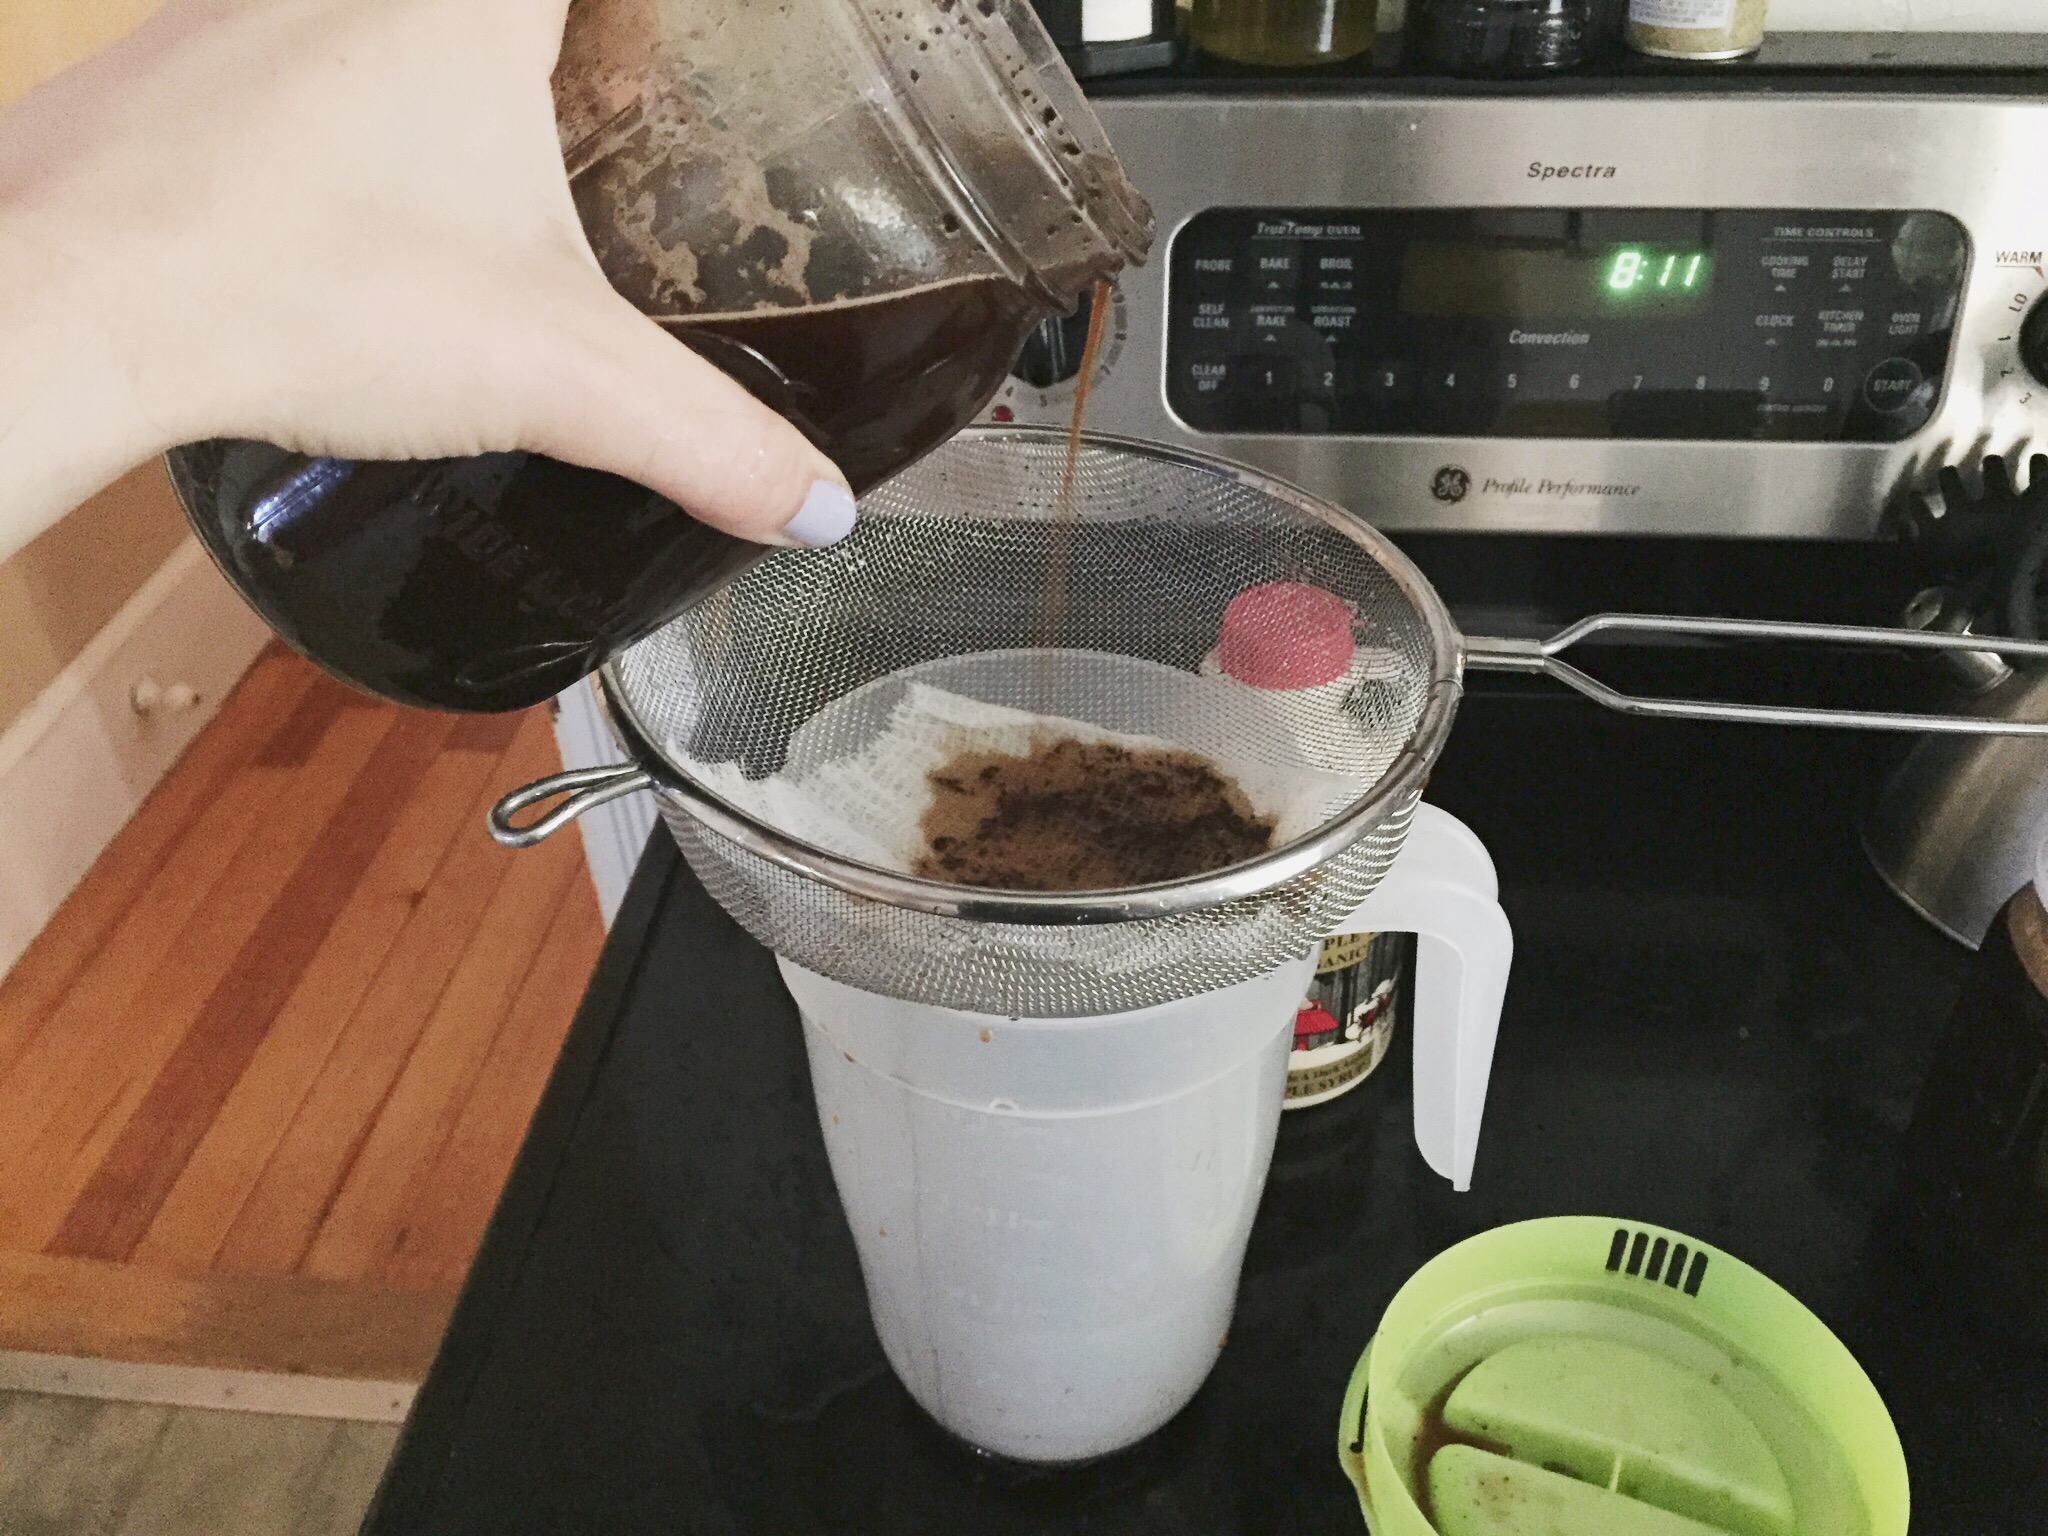
Next, it’s espresso time. As I mentioned, my favorite espresso-brewing method is currently the Aeropress system. It’s cheap, easy-to-use, easy-to-clean, and produces consistently great espresso. My favorite tutorial is below, from the ABM site:

Finally, milk! I actually add filtered water to my espresso, which technically qualifies this drink as an Americano, rather than a latte. I find lattes to be too milky and thick, and prefer a thinner, smoother beverage. For a hot latte, add your warm, frothy milk to the espresso and fill to the top. For an iced latte, fill your cup 1/2 to 2/3 of the way with milk, and finish with ice.

IMG_9030

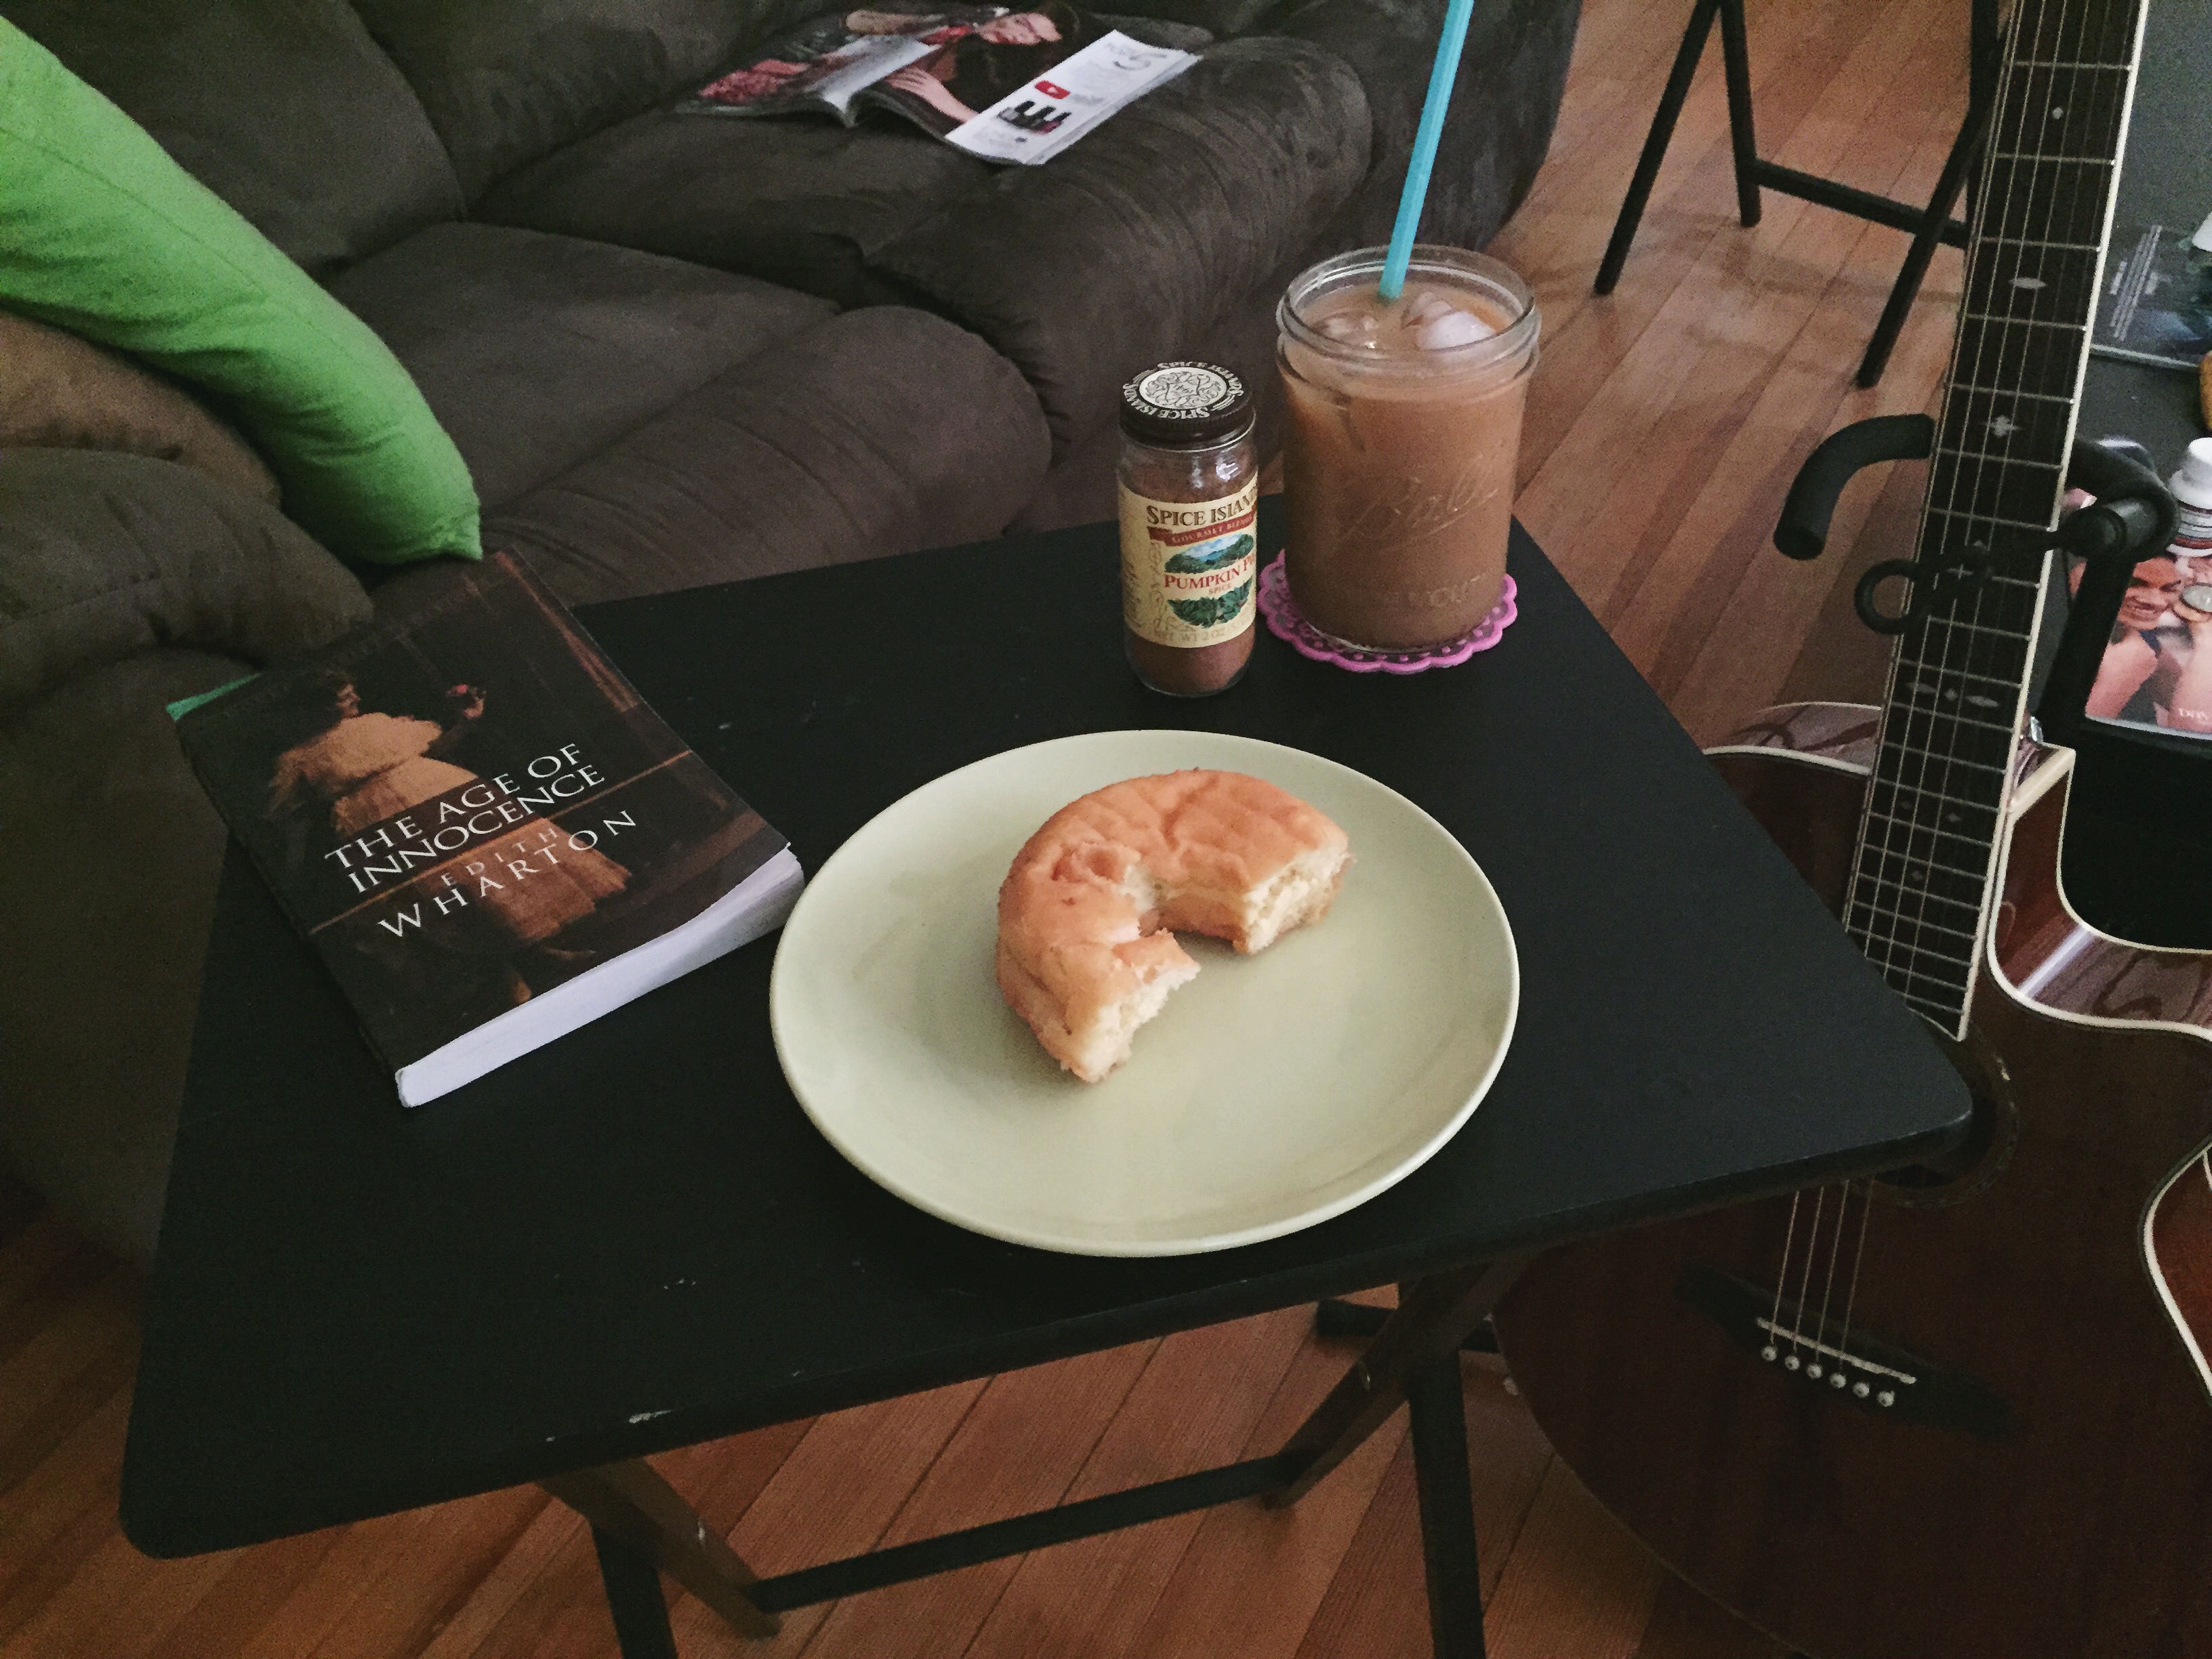
For decadent presentation, especially with a hot latte, sprinkle some pumpkin pie spice on top and enjoy! Tastes best with a doughnut, of course.

IMG_9031
This morning I’ll be enjoying my PSL with Edith Wharton.

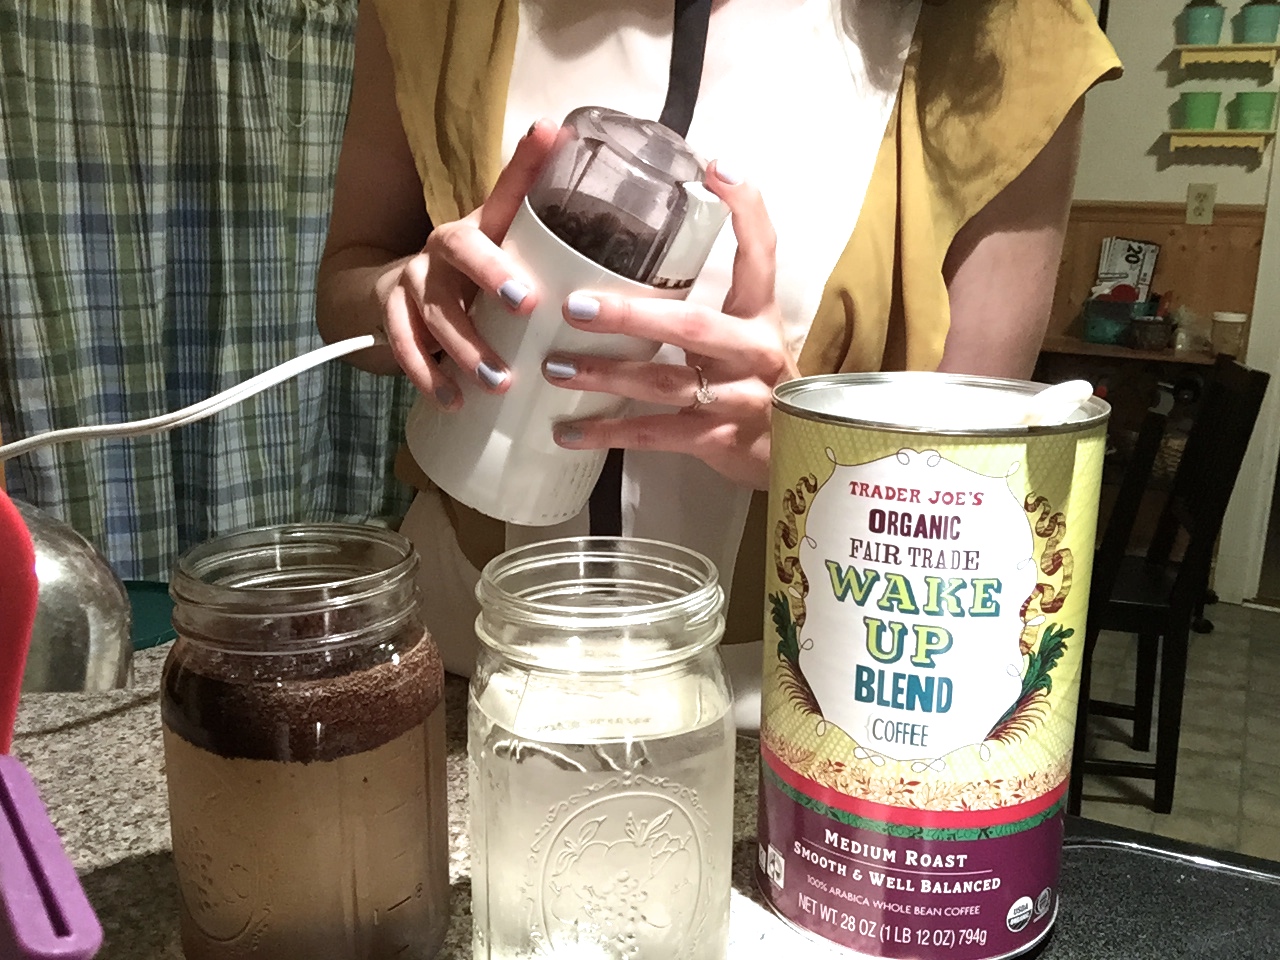
If you’re a pro at your espresso-brewing method, this whole process takes about 2 minutes, including grinding your beans. I usually put on my mascara while I heat my kettle—multitasking ftw!

What’s your favorite fall drink?

—DellaBites

Iced Crack

And by “iced crack” I mean cold-brewed coffee! Cold brew is all the rage right now, and for very good reason. For those of us who like their coffee very milky *raises hand*, it is an elixir from heaven. No joke, I can drink this stuff black with no sugar. When I finally perfected making this, I drank so much of it I barely slept for a week. My fiancé says that I have ruined him for all other coffees. He calls it “Fig-proof”, as in, he can’t possibly screw it up, no matter what he does to it or puts in it. You can find recipes for cold brew anywhere on the internet (Pinterest is a lifesaver), but if you’re reading this and you haven’t yet tried to make this at home, DO IT and stop paying $3+ a cup to get it at Starbucks!

Here’s my method.

Preparation:

Supplies
Supplies

You’ll need whole bean coffee in your favorite blend, quart sized mason jars (or a gallon jug, whatever), and a coffee grinder. A funnel is optional, but encouraged. I like to buy my coffee in bulk, since I make this cold brew every 2-3 days. Trader Joe’s has a great selection of inexpensive, quality coffees. Costco is another great place to get bulk whole bean coffee in brands like Starbucks or Coffee Bean & Tea Leaf.

Grind your beans to a slightly coarser grind than you would for auto-drip coffee. Not as coarse as a French press, not as fine as espresso. Eyeball it.

The golden cold brew ratio is 1 cup ground coffee to 4 cups cold, filtered water (or .25 cups coffee to 1 cup water if you’re making batches smaller than a quart). This might as well be printed in the Bible. You can go stronger, but you’ll just end up diluting your prepared drink more later.

Halfway there.
Halfway there.

Measure your coffee, grind it up, and add it to your water. This is where the funnel comes in handy. I’ve wasted so much precious coffee by spilling it all over my counters. I like to use mason jars to steep my cold brew because they have measurements on the sides, and I’m all about reducing the amount of dishes used in any given meal prep.

IMG_8673 IMG_8695 IMG_8702 IMG_8730

After you finagle the grounds into the jar, then comes the fun part. Screw on a lid (I like these Ball brand plastic storage caps as they don’t rust, are dishwasher safe, and come in wide-mouth and regular size) and shake it like a Polaroid picture or James Bond’s martini. Dance while you do it!

IMG_8739
Blouse is Zara via Buffalo Exchange.

IMG_8751Let it sit for 12-24 hours. I usually make mine in the evenings and strain it before work in the morning. The straining is the tough part. This took me a while to perfect. Finally, I consulted the Pinterest oracle and learned that cheesecloth is the way to do it. I have heard that nut milk bags work beautifully.

I place a mesh strainer, lined with a small piece of cheesecloth, over a 2qt or larger pitcher. I agitate the jars one last time so that the grounds don’t come out in one giant clump, and slowly pour it out through the strainer and into the pitcher.


Another method, which I use semi-frequently, is to pour your cold brew and grounds into a French press and strain them that way. When I use this method, I still like to pour the coffee through the cheesecloth so that the finished product isn’t cloudy.There’s no way to completely avoid sediment in your cold brew, but it sinks to the bottom of the container so it doesn’t interfere with the overall coffee experience.

Serving:

As soon as the cold brew has been strained, it’s ready to drink! It will come out slightly stronger than regular iced coffee, so I recommend diluting it slightly with filtered water. Most sites say a 2:1 coffee to water ratio, but I use slightly less water, as my coffee only steeps for 12 hours and I take it with ice, which dilutes the mixture over time. Apart from the dilution, prepare your cup exactly as you would any other cup of coffee. My absolute favorite way to take it is with unsweetened almond milk and all-natural maple syrup for a touch of sweetness.


All of the almond milk, all the time.

Happy brewing!

-DellaBites


Currently enjoying my cold brew on break at work with some Trader Joe’s goodies.